Different laparoscopic surgeons have different ways of inserting the first trocar. Here I will outline what I have seen and what is my preferred technique of first trocar insertion.
1. How do you insert the 10mm trocar without carbon dioxide insufflation
There are 2 ways I have seen of inserting the 10mm trocar without carbon dioxide insufflation. They are:
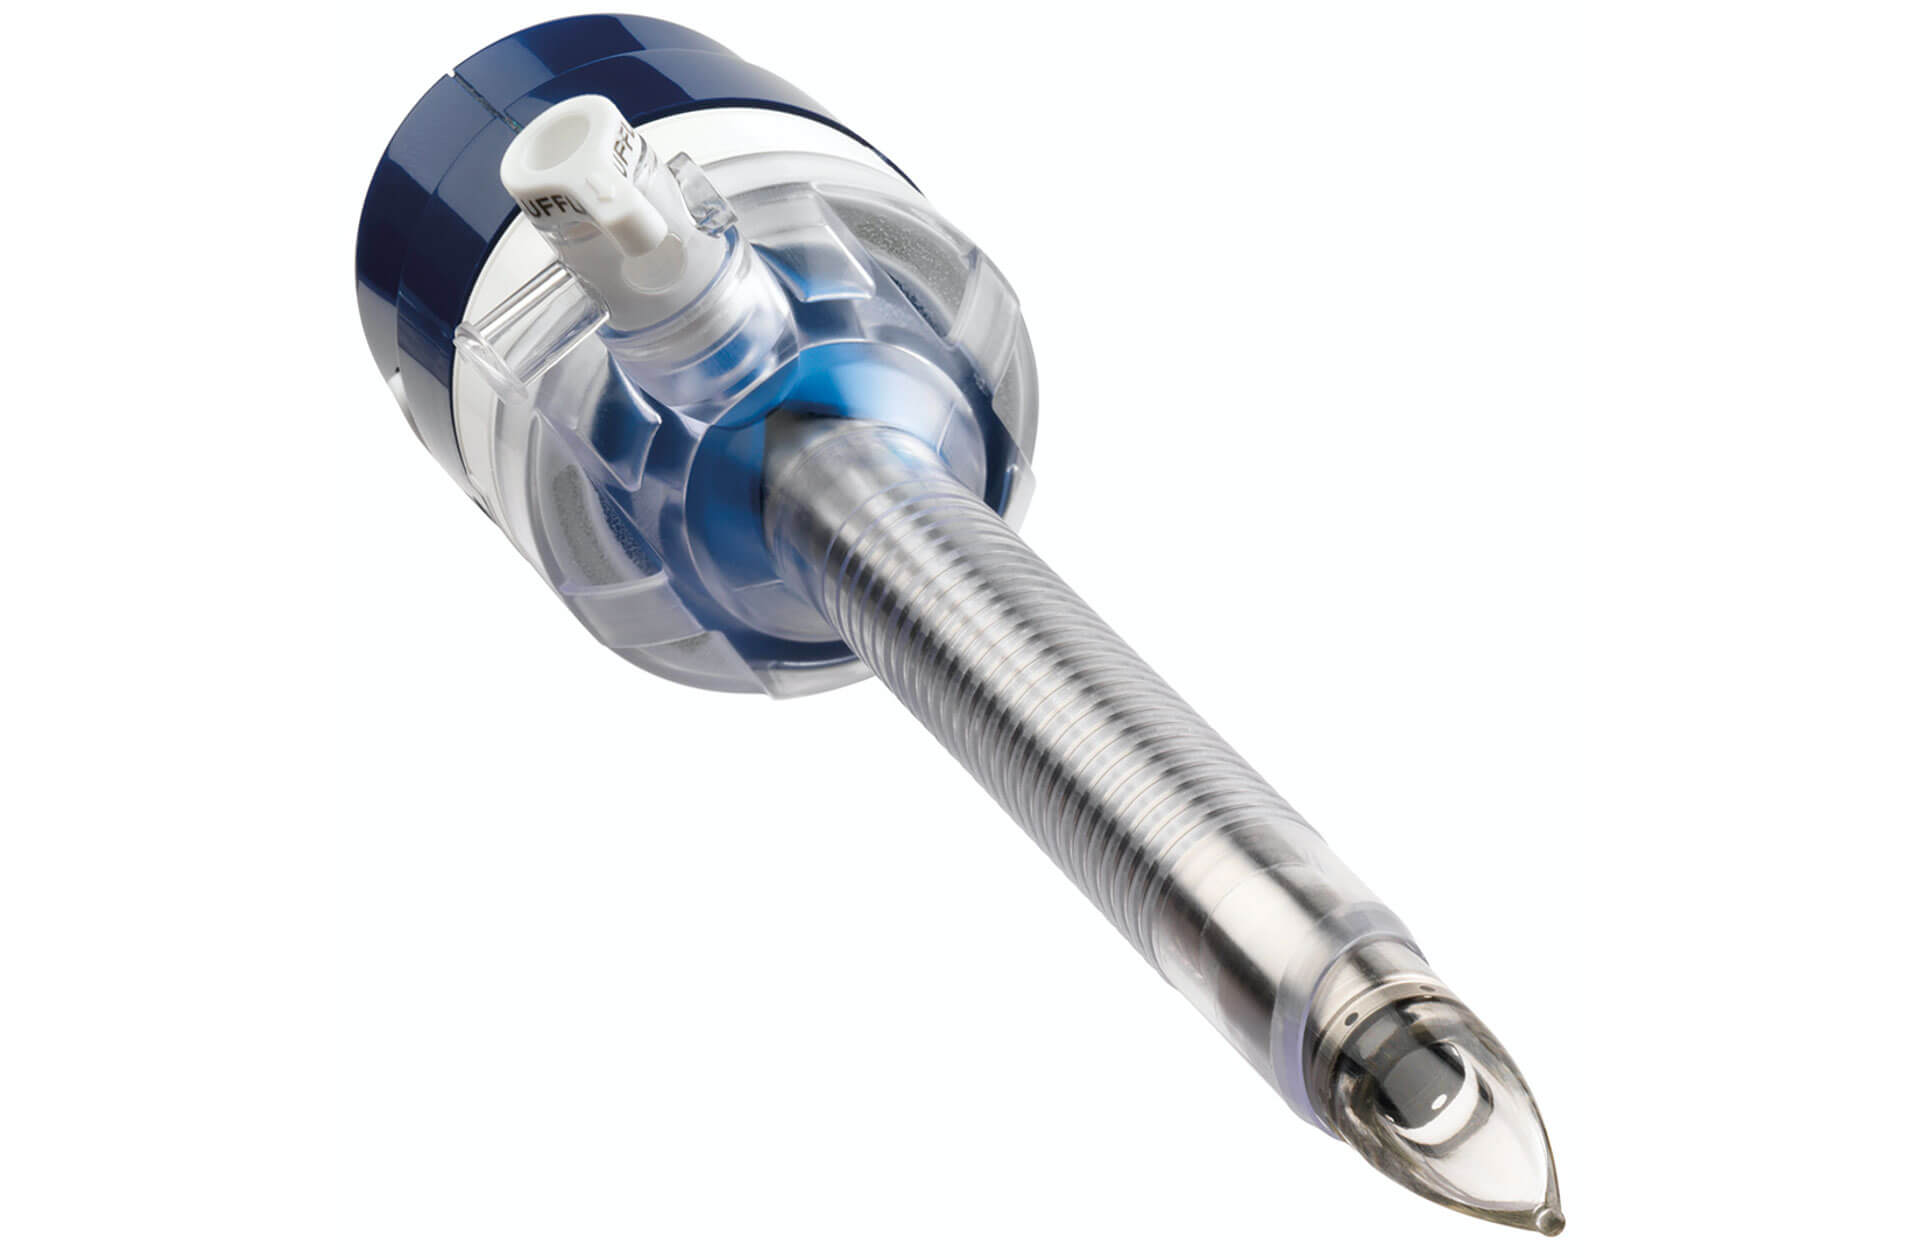
- Using a visiport
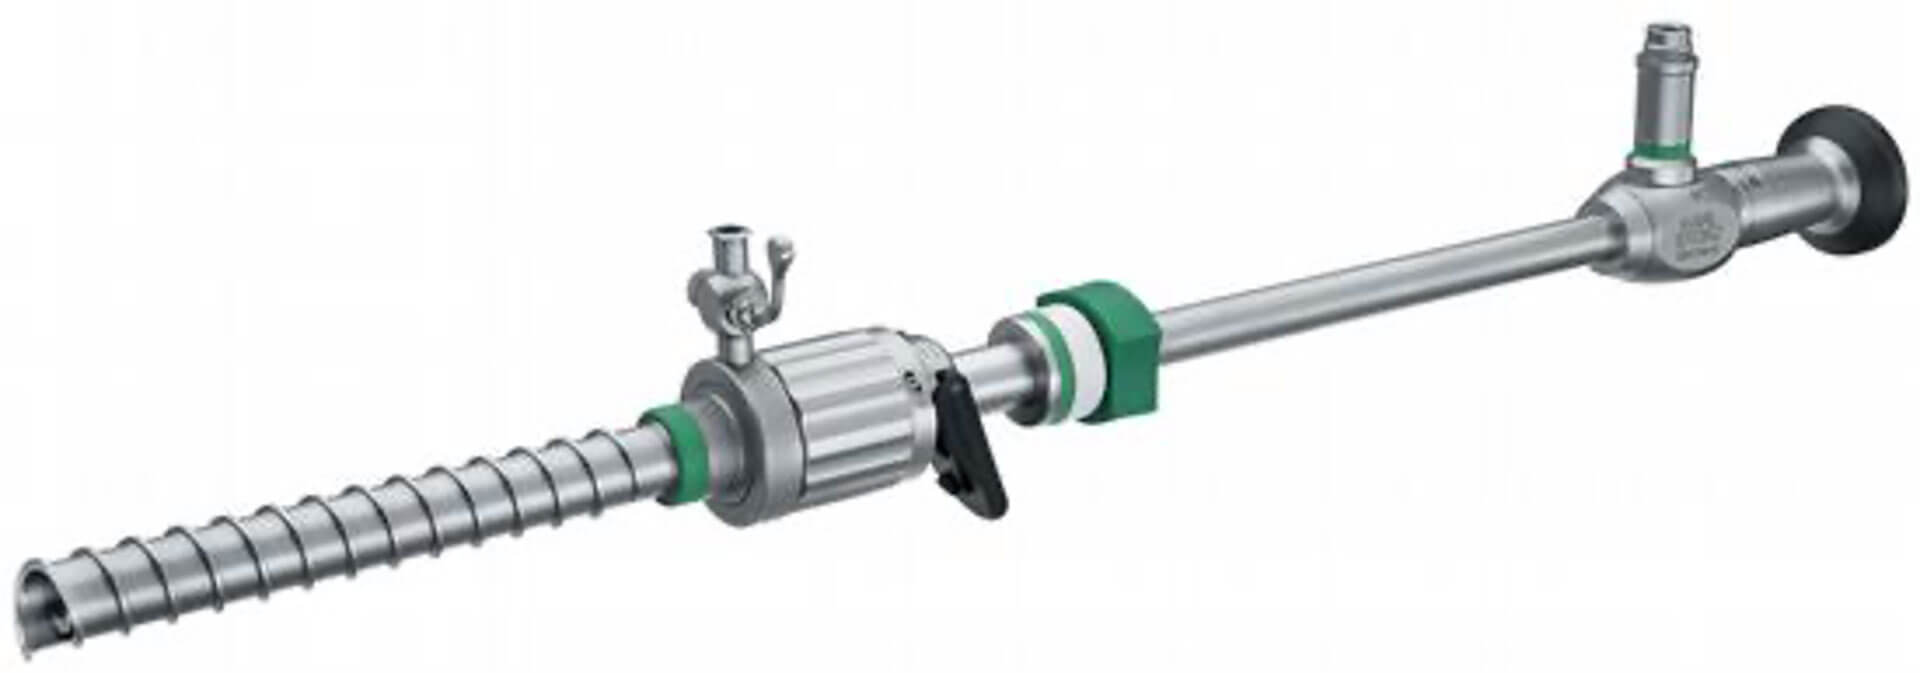
- Using a reusable trocar
Here an optical trocar is used with a laparosocope in it. The trocar is advanced into the abdomen while visualizing the tissues being separated as you rock the trocar from side to side. I have only seen this being done from the umbilicus. I am not sure whether anyone has tried this on a skin incision above the umbilicus but technically I think it is still possible.
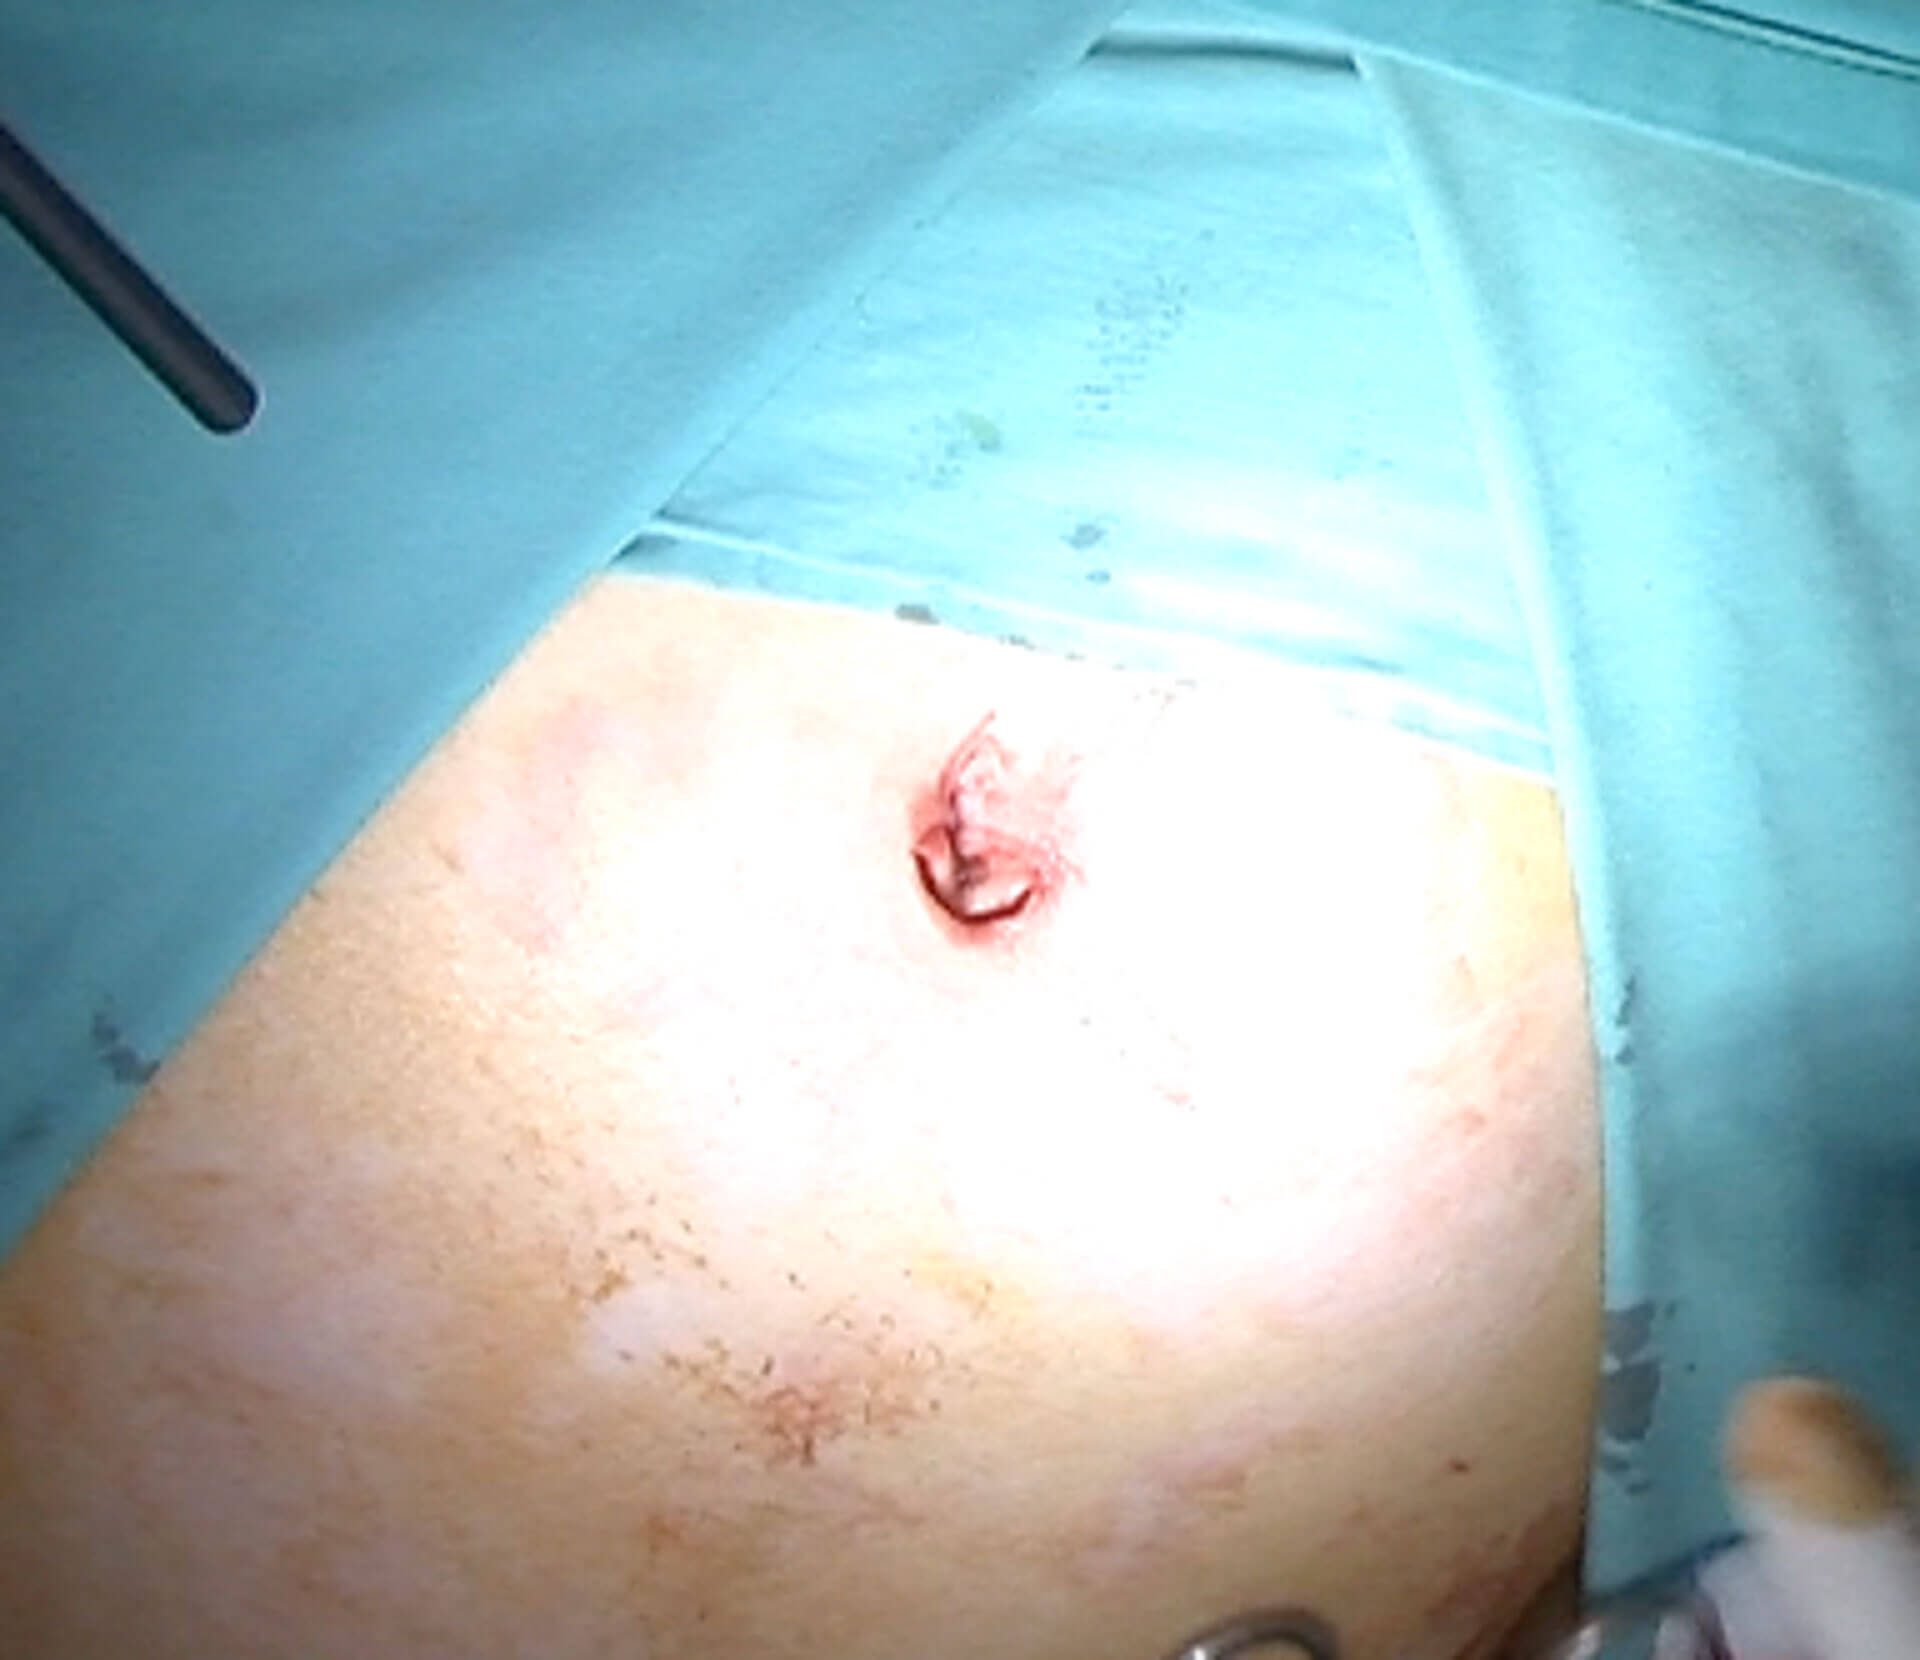
I have seen Prof. Arnaud Wattiez placing the trocar directly into the abdomen without carbon dioxide insufflation. Here an incision is made in the umbilicus and the skin below the umbilicus is lifted up. When the skin is lifted up the umbilical incision will become more vertical. The trocar, is pushed in perpendicular to the skin incision and into the abdomen.
The laparoscope is placed into the trocar to see where you are and then carbon dioxide insufflation is done. I personally feel very uncomfortable to use this technique but Pro. Wattiez argue that it is better to have 1 blind procedure than 2 blind procedures namely the Veress needle and then the trocar.
2. How do you make a 10 mm incision in the umbilicus?
There are different ways of doing this.
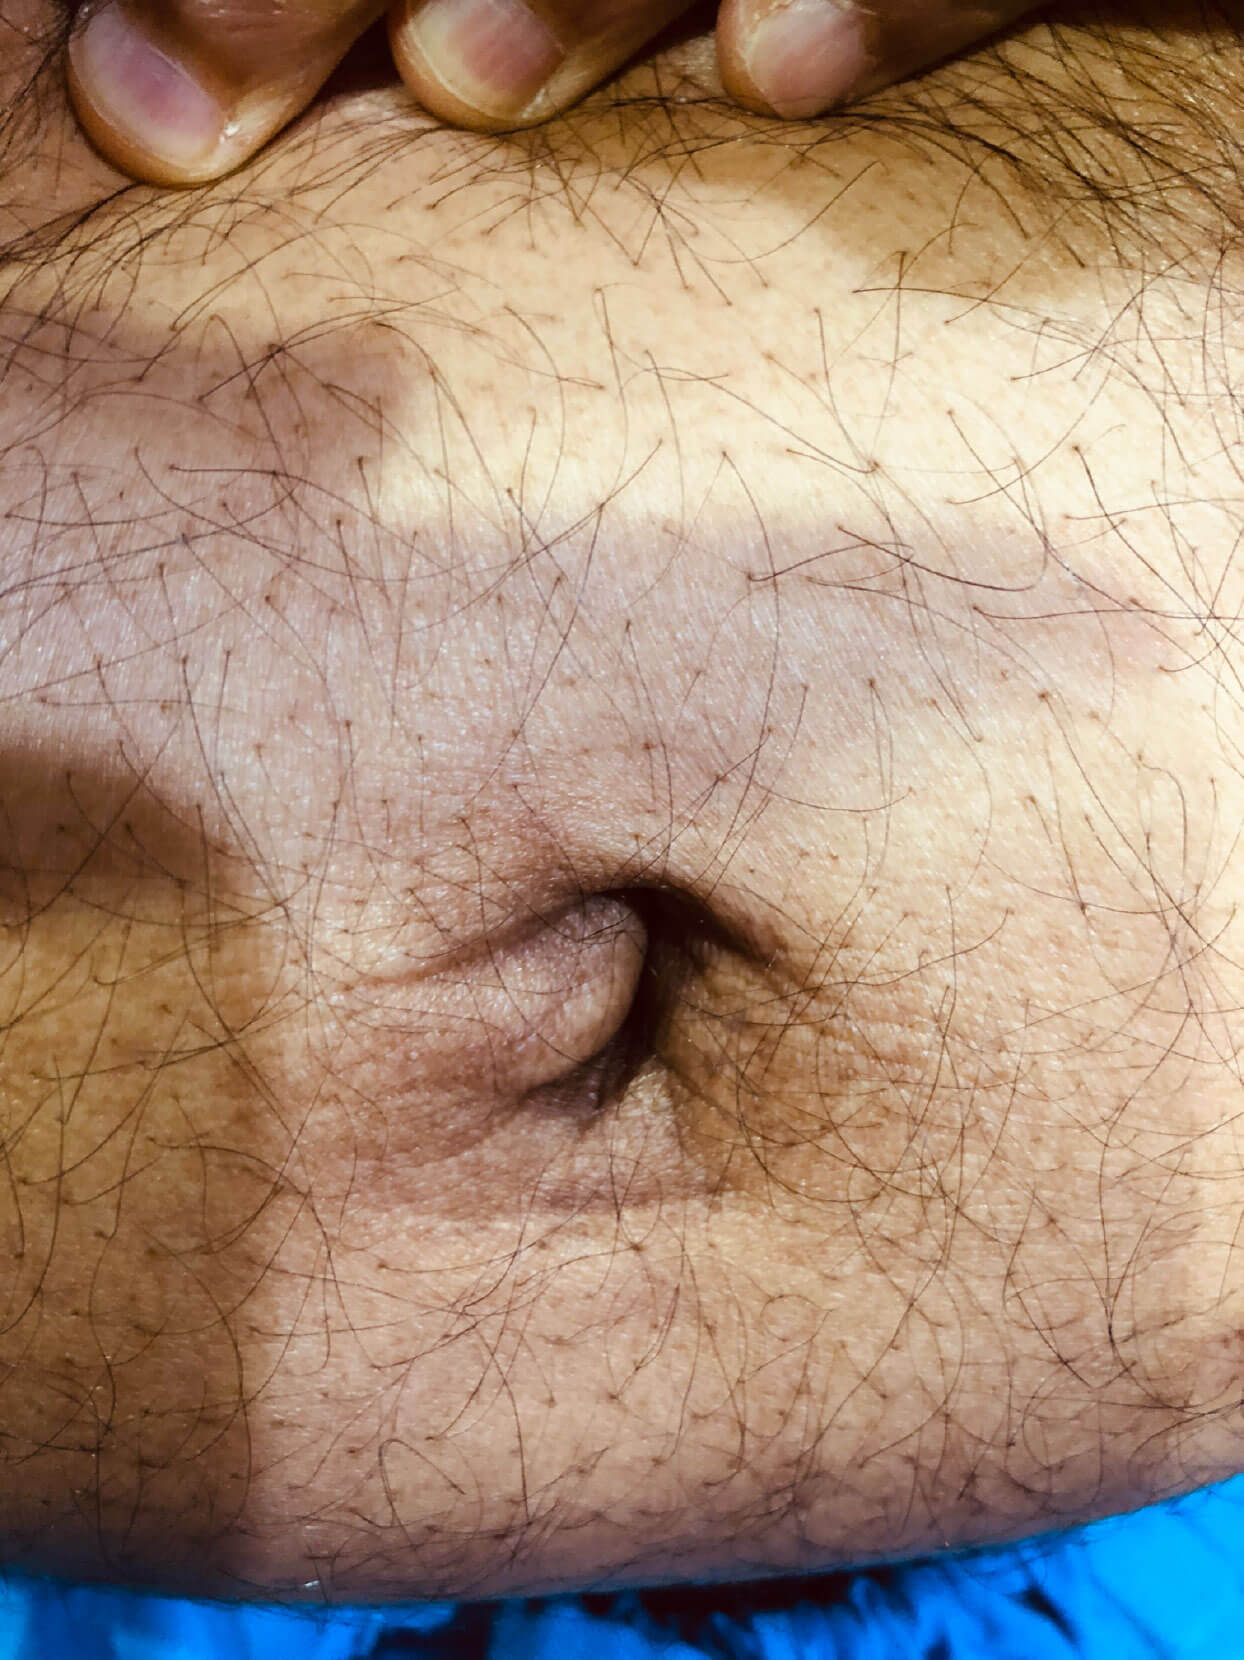
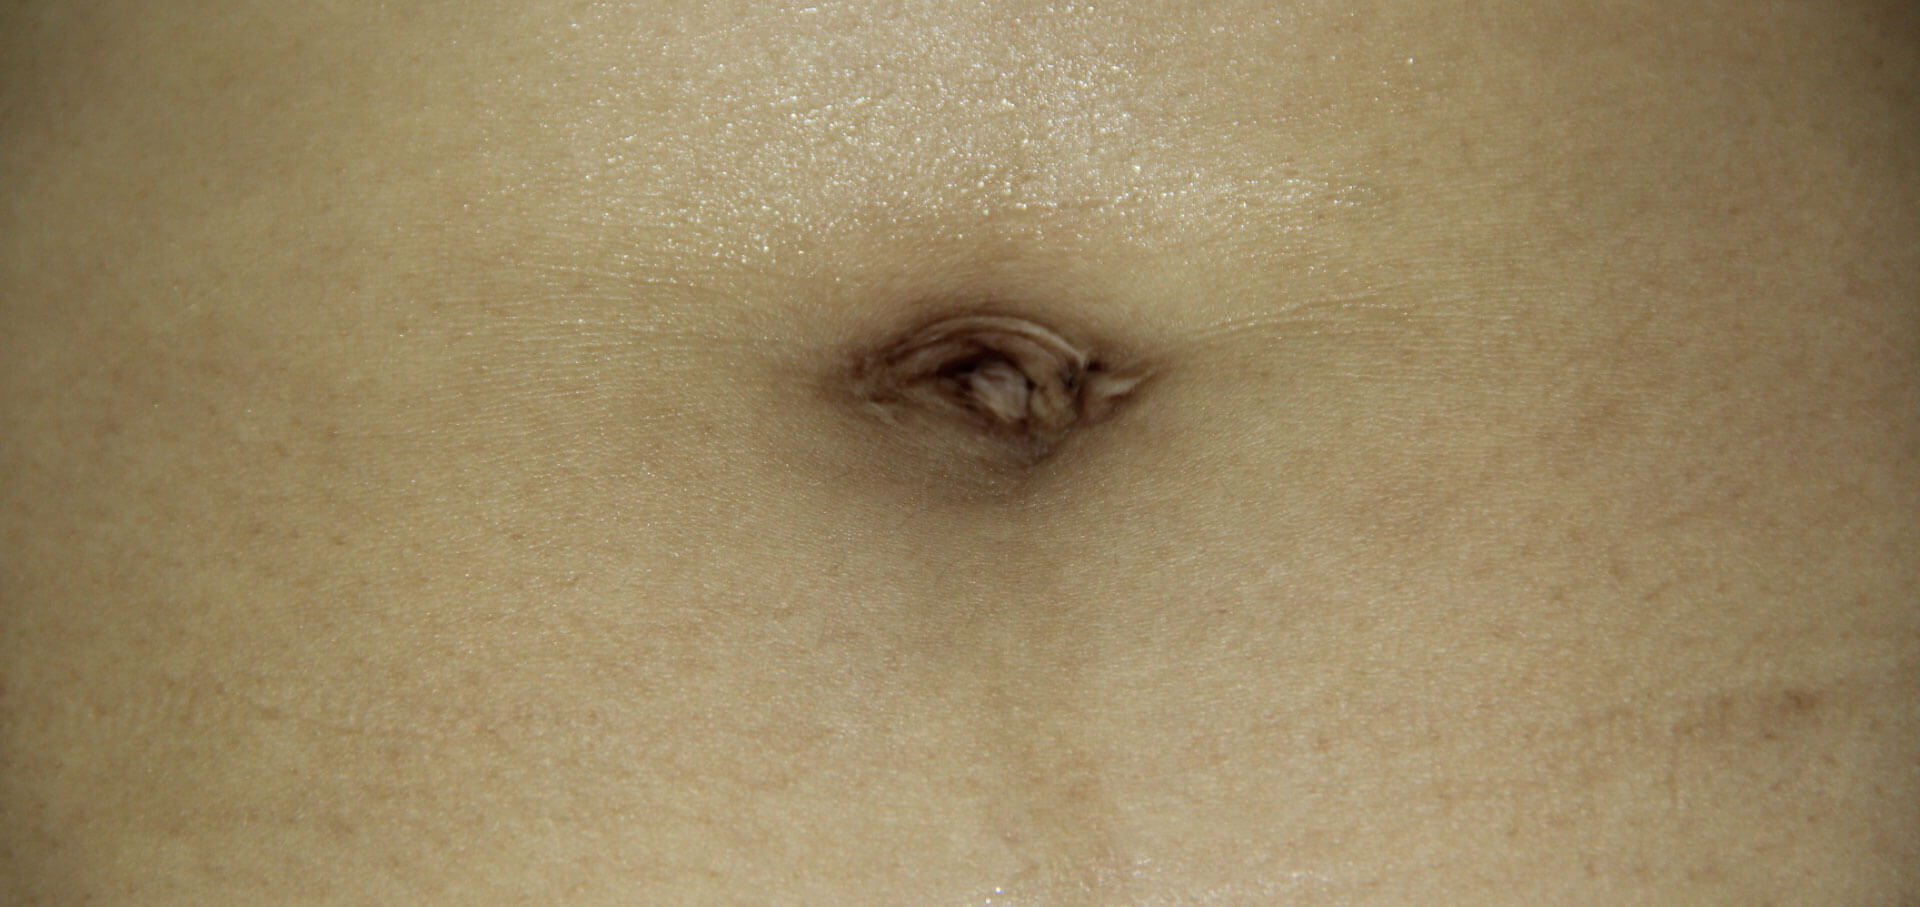
1. Cutting right through the middle of the umbilicus
Advantage:
Incision hidden in the umbilicus
Disadvantage:
- The umbilicus can be a very “dirty” area. Cleaning it may not be absolutely possible. In my experience infection rates are higher when done through the umbilicus.
- The umbilicus can be very deep in some patients. It can be difficult to get to the bottom of it. If a keloid occurs from this incision, it is usually very ugly and difficult to reconstruct. In some patients when keloid occurs, complete excision of the umbilicus may be necessary
A curved incision can be made on the inferior border of the umbilicus and the trocar can be inserted there. This incision can also be made within the umbilicus to hide the scar.
A curved incision can be made on the upper border of the umbilicus just like the incision is made on the lower border. The advantage is that the trocar and the laparoscope will be slightly further up and this will be useful in larger uteruses and if you are using 3D laparoscopy
4. Along the lateral border of the umbilicus
Here a vertical incision is made on the inner border of the umbilicus. This incision is made within the umbilicus so it is hidden. This technique I first learnt from Prof. Wattiez and is my preferred incision if I am placing the trocar in the umbilicus.
3. How to make a 10mm incision outside the umbilicus
Sometimes the 10mm incision for the camera port needs to be made higher up above the umbilicus. This is done usually when the uterus is large. Sometimes it is also done when performing 3D laparoscopy as the vision is usually magnified. There are several ways of doing this.
- Huang Lee Point
- Dipak Limphachya’s technique
- Prashant Mangheshikar’s technique
- Nutan Jain’s method
- Rakesh Sinha’s philosophy
- My own technique
Dr Lee Chyi Long and Dr Huang of Chang Gung Memorial Hospital have described the Huang-Lee Point. In this technique, a vertical incision is made midway between the xiphisternum and the umbilicus. Veress needle is inserted into the abdomen through this point. Carbon dioxide insufflation is done. A disposable trocar is then inserted directly through this incision into the abdomen.
2. Dr Dipak Limbachiya technique
Dr. Dipak makes a transverse incision just above the umbilicus. He insufflates with the Veress needle through this incision. He uses a reusable trocar and with rocking movement inserts the trocar into the abdomen through the 10 mm incision. You need to be skilful to do this as the aorta is just below this incision.
Dr. Prashant uses a Tenarmian trocar to enter the abdomen. This is a much safer approach. My only comment is that the Tenarmian trocar with its treaded sheath holds on to the skin and so it takes time to push in or pull out the trocar.
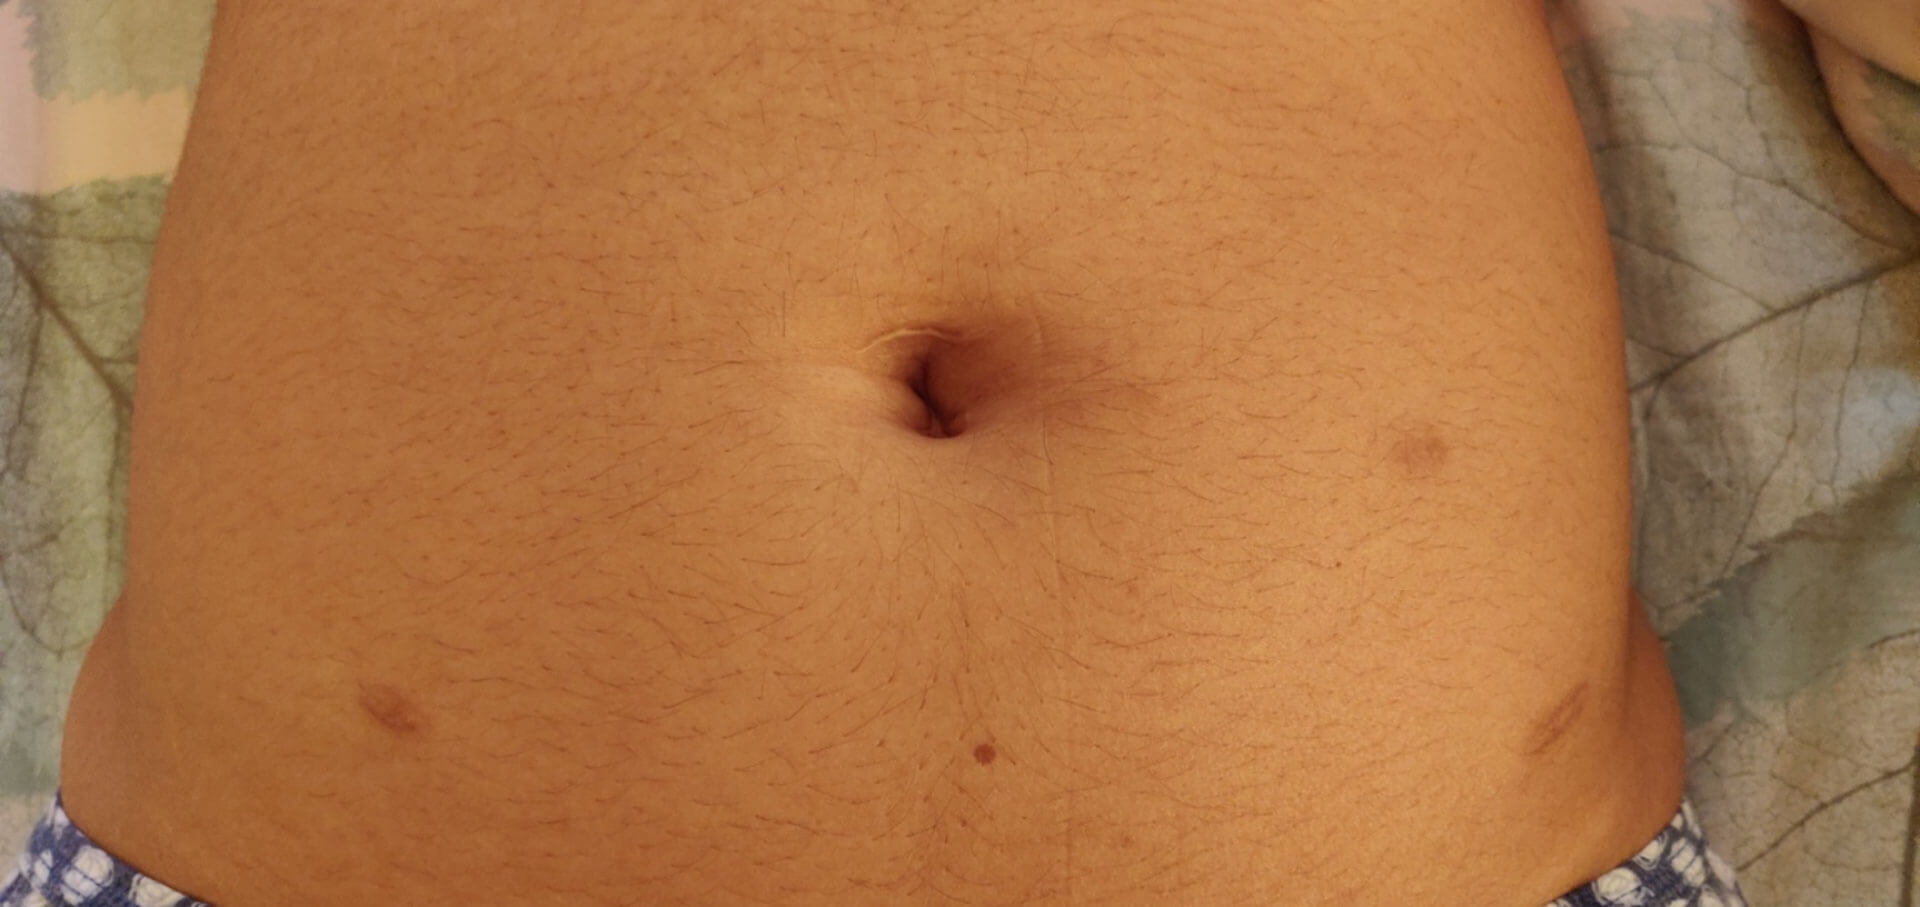
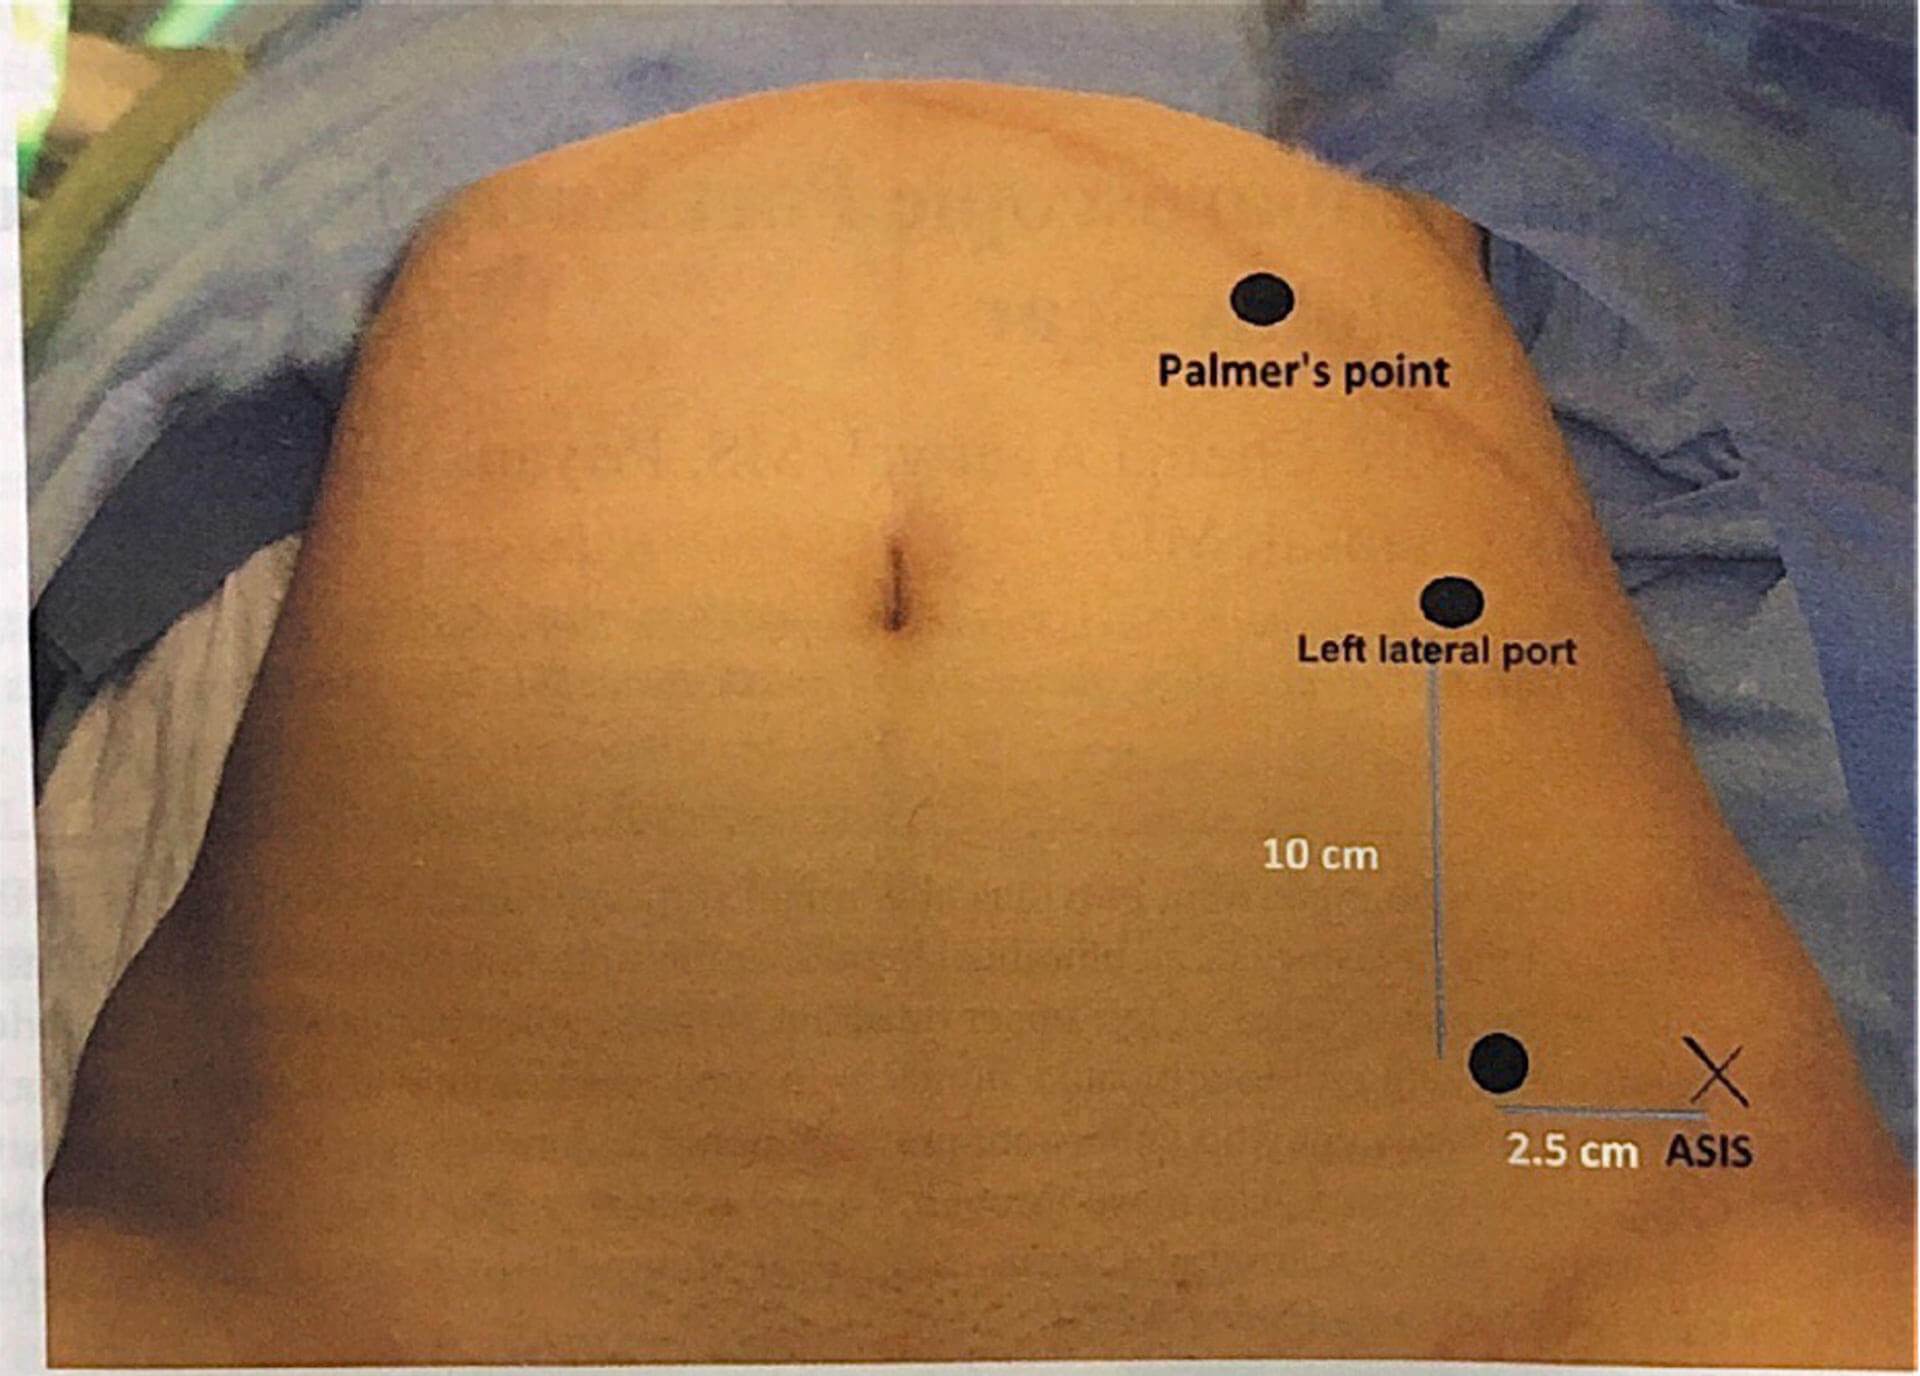
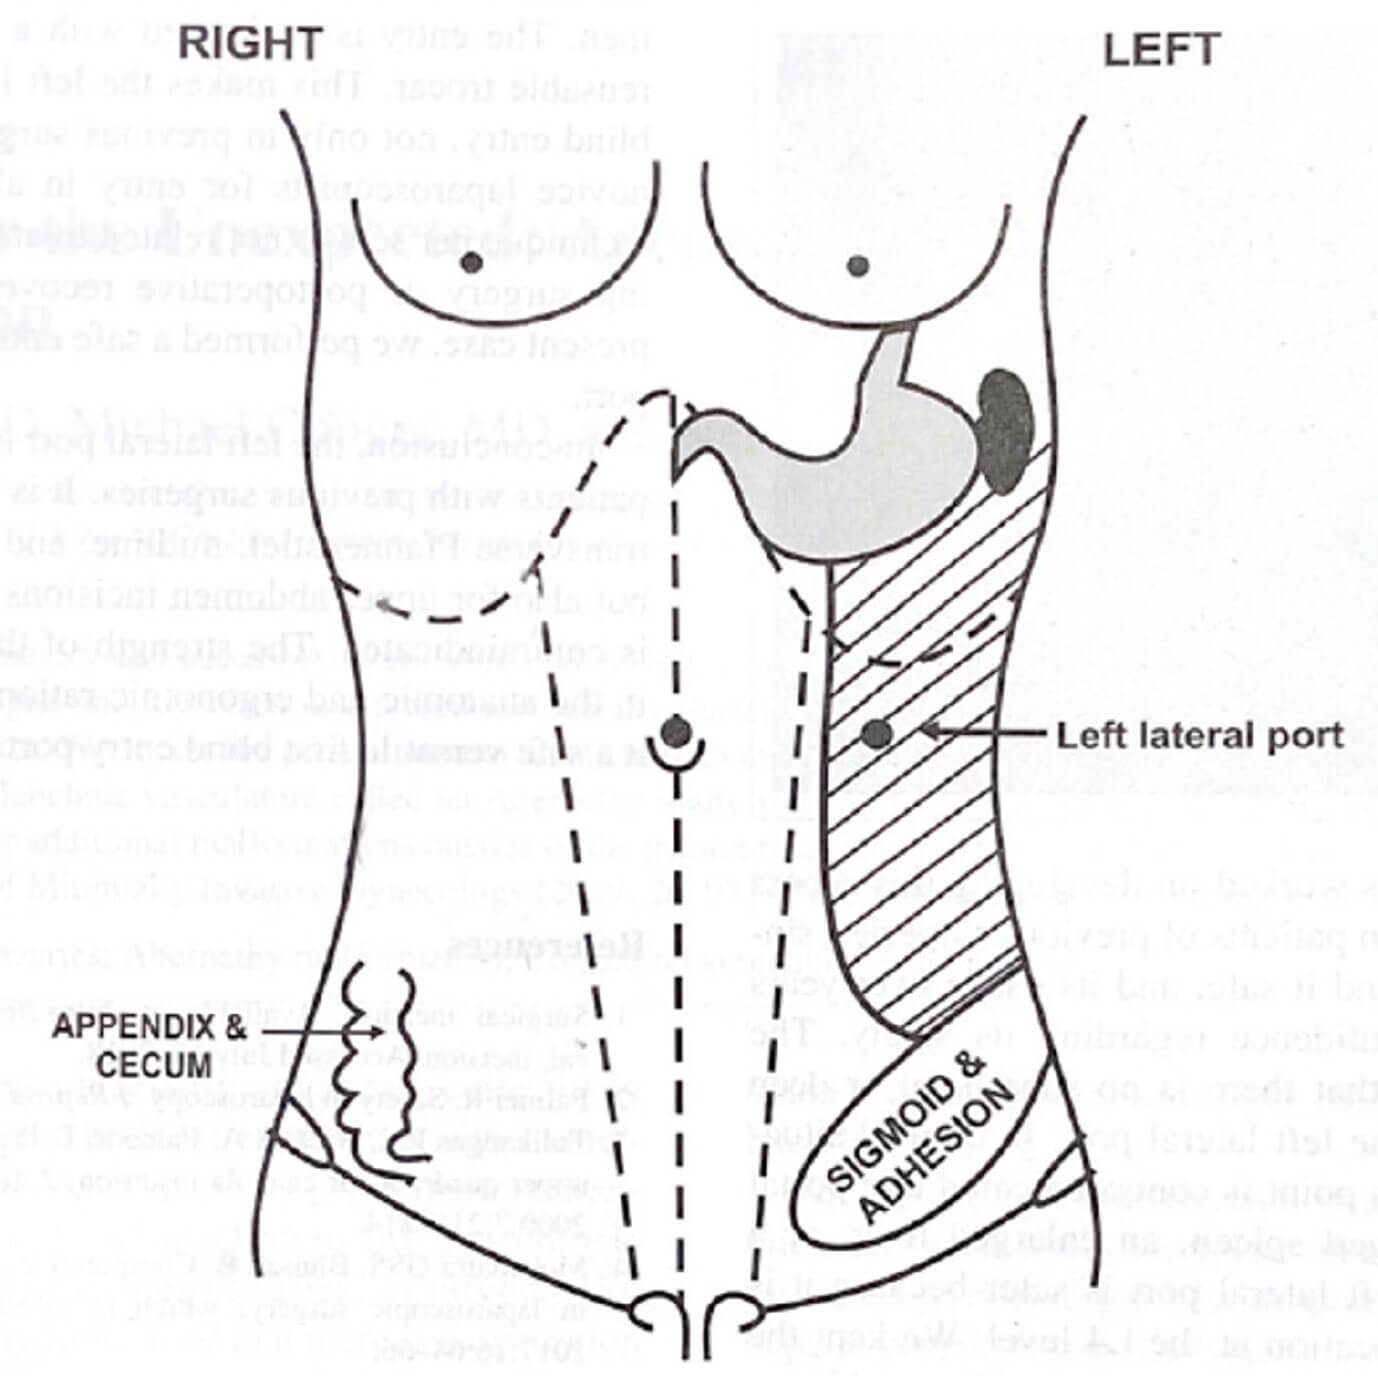
Dr. Nutan Jain of India recently published her method of trocar entry. A skin incision is made lateral to the umbilicus 2.5 cm medial and 10 cm above the Anterior superior iliac spine. The Verres needle is inserted directly into the skin until it reaches the peritoneal cavity. Carbon dioxide insufflation was done. A 5 mm trocar is then inserted into the abdomen at the same point. Based on their experience, there is very little adhesions at this site.
The late Dr. Rakesh Sinha told me that after insufflating the abdomen with carbon dioxide from the Palmar’s point if you place a trocar at the Palmar’s point, it will be too high for usage during laparoscopic surgery. Dr. Rakesh said that it is safe to place the trocar anywhere lower along the midclavicular line. I usually place it at the level of the umbilicus at the midclavicular line.
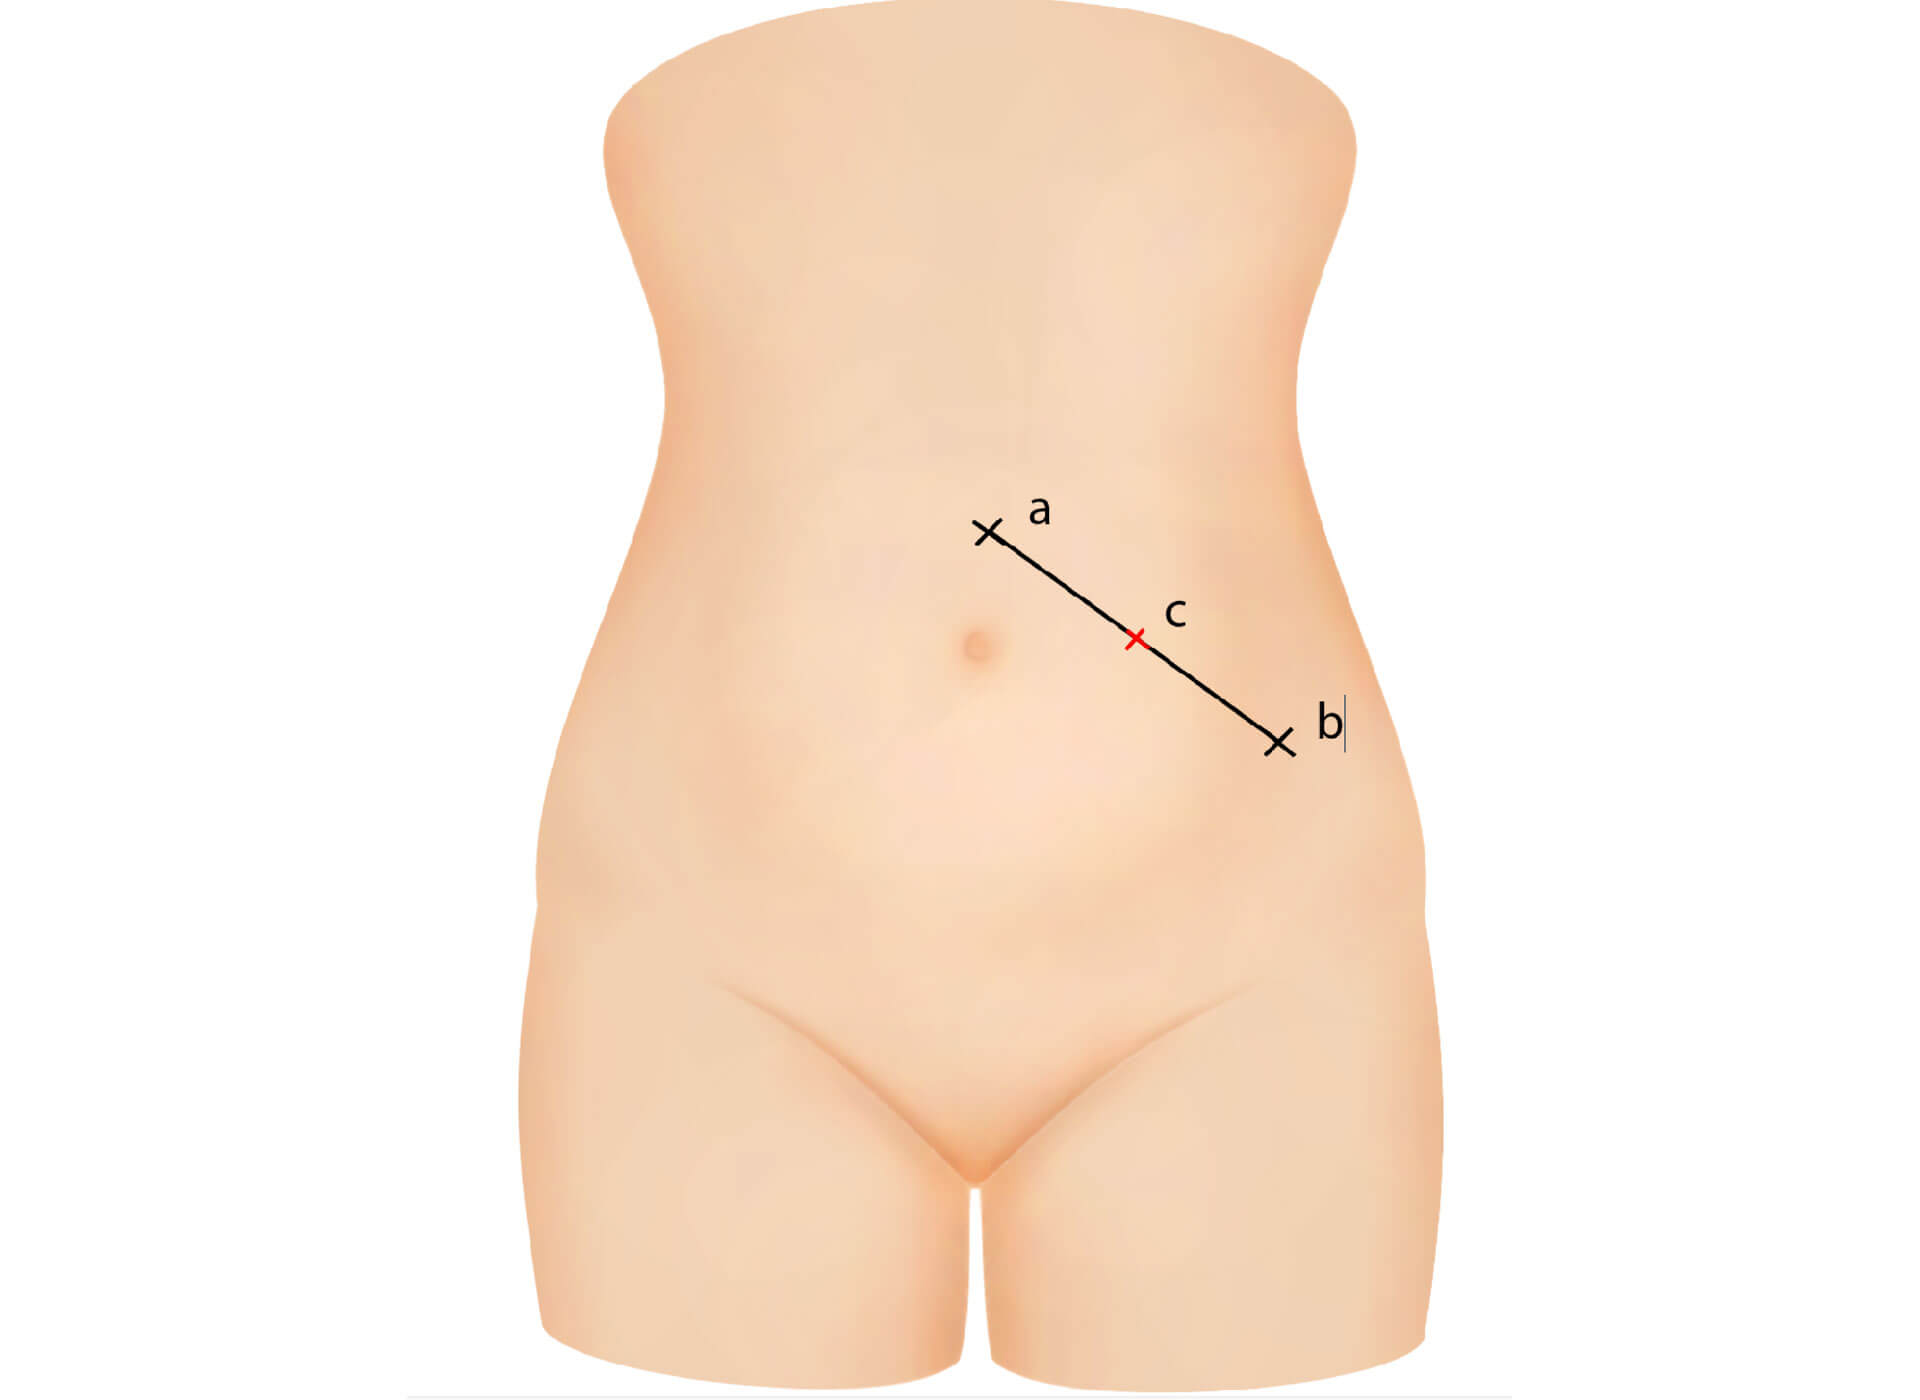
Since starting 3 D laparoscopy, my camera port is usually above the umbilicus. I place the first trocar slightly differently. After insufflating the abdomen either with a Veress needle in the umbilicus or the Palmar’s point, I will first decide where my camera port is going to be. I place a mark at this point. Lets call this point a. I will place my next mark 2 finger breadths above the anterior superior iliac spine. Lets call this point b. This will be the place for my second 5mm trocar. I then draw a line between these 2 points. I place a mark half way between this 2 marks. Lets call this point c. This will be the place of my first 5mm trocar. Dr. Dipak Limbachiya taught me this method of port placement. Although my 2, 5mm trocars are ipsilateral, my right hand port is placed more forward . I can operate with more comfort with this port placements.
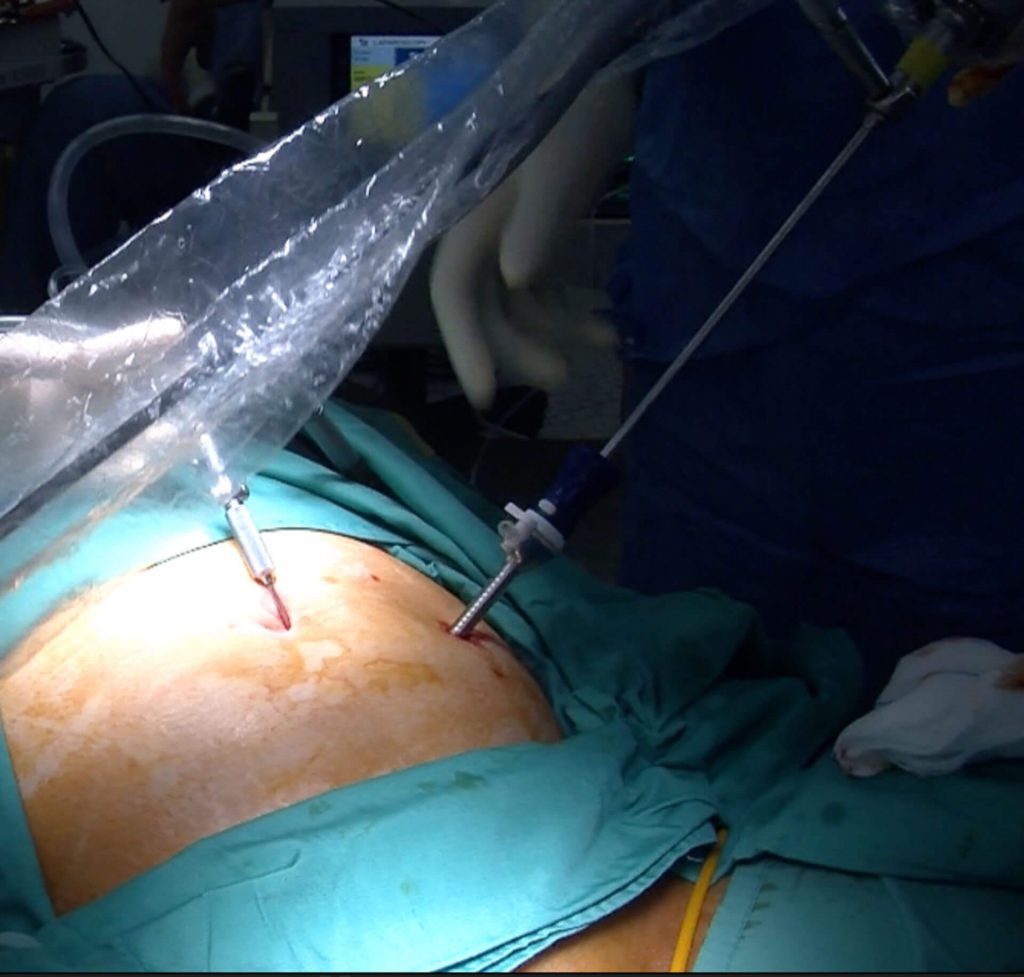
Once the trocar is in the abdomen, the sleeve is removed and then laparoscopy is performed using a 5mm 2D telescope. After that, I will decide where the 10mm trocar camera port is going to be. I don’t want it to be too high because that will make visualization of the pelvis difficult. I also don’t want it to be too low as the trocar may be too near the uterus. I then push the 10 mm trocar for the camera port into the abdomen under direct vision using the 2D telescope. This I think is a very safe technique. The only disadvantage is that I need 2 camera systems namely the 2D for the lateral port and the 3 D camera for my operations. If you are not using the 3D camera, you will need to switch from the 5mm telescope to a 10mm telescope.
Selva
Sevellaraja Supermaniam
19/4/2020
www.melakafertility.com


